How to Fix Bare Spots in Your Lawn Fast
Bare spots in a lawn are inevitable—whether from dog traffic, fungal disease, pest damage, heavy foot traffic, or shade. Left alone, bare soil quickly fills with weeds rather than grass. The good news is that most bare spots can be repaired within 3–6 weeks with the right approach. If you’re not sure what’s killing your grass in the first place, our guide on why grass dies and how to diagnose the problem is a good starting point.
Why You Need to Fix Bare Spots Promptly
Exposed soil doesn’t stay bare for long—weed seeds are always waiting for exactly this kind of opportunity. Crabgrass, spurge, clover, and dandelions colonize bare soil faster than grass seed typically germinates. The longer a bare spot sits unaddressed, the harder it is to reclaim with the grass you want.
Additionally, bare spots disrupt the appearance of your lawn, draw the eye, and can expand if the underlying cause isn’t addressed.
Step 1: Identify and Eliminate the Cause
Reseeding a bare spot without fixing the underlying problem is pointless. The same thing will kill the new grass.
Common causes of bare spots:
- Dog urine: High nitrogen concentration burns grass in the same spot repeatedly. Solution: Train the dog to a different area, or water the spot immediately after use.
- Foot traffic: Soil compaction from constant walking prevents grass from surviving. Solution: Create a mulched pathway; aerate before reseeding — our complete lawn aeration guide explains how to properly loosen compacted soil before you reseed.
- Fungal disease: Circular patches from disease that killed grass. Solution: Treat with appropriate fungicide before reseeding.
- Grubs or other pests: Damage to root system. Solution: Apply appropriate insect control, verify pest is gone before reseeding.
- Shade increase: Trees grew larger and now shade what was previously sunny lawn. Solution: Choose a shade-tolerant grass variety for repair; or accept the shade and switch to a shade ground cover.
- Chemical spill: Herbicide, fuel, or fertilizer burn. Solution: Flush area with heavy watering to leach chemicals; retest soil if chemical herbicide was spilled.
- Soil compaction: Heavy object sat on area, or high traffic zone. Solution: Aerate before reseeding.
- Thatch: Thick thatch layer prevented water and nutrients from reaching grass crowns. Solution: Dethatch before reseeding.
Step 2: Prepare the Bare Spot
Good soil preparation dramatically improves your success rate.
- Remove dead grass and debris: Rake out all dead material until you have bare soil.
- Loosen the soil: Use a garden fork, hand cultivator, or hand tiller to loosen the top 2–4 inches. This breaks compaction and creates a loose seedbed.
- Amend the soil if needed: Work in a couple of inches of compost to improve soil structure and add organic matter. This is especially important in hard, clay soils.
- Level the surface: Fill in any depression with topsoil or compost to match the surrounding grade. A level surface prevents water pooling and creates a better growing environment.
- Apply starter fertilizer: Work a small amount of starter fertilizer (high in phosphorus, like 10-20-10) into the top inch of soil. Phosphorus drives root development in new seedlings.
Step 3: Choose the Right Seed
Matching the seed to your existing lawn is important for a consistent appearance. Using a different grass species or variety creates a patchwork of different textures and colors.
How to identify your grass: Take a photo or sample to your local garden center, or contact your cooperative extension office. Common identifiers include blade width (narrow vs. broad), texture, and growth pattern.
If you can’t match exactly: Choose the closest variety available, or use a blend that includes the dominant grass in your lawn.
Seed options by situation:
- Small spots (under 1 sq ft): Pre-mixed “patch” products that contain seed + mulch + fertilizer in one bag work well and are very convenient.
- Larger bare areas: Buy seed separately for better control over rates and species.
- Pet damage: Perennial ryegrass germinates fast (5–7 days) and establishes quickly—ideal for pet areas you need to fill quickly.
Step 4: Seed the Area
Apply seed at the recommended overseeding rate for your grass type:
- Kentucky Bluegrass: 1–2 lbs per 1,000 sq ft
- Tall Fescue: 4–6 lbs per 1,000 sq ft
- Perennial Ryegrass: 3–5 lbs per 1,000 sq ft
- Bermuda Grass: 1 lb per 1,000 sq ft (hulled)
For small spots, spread seed evenly by hand. Rake lightly to work seed into the top ¼ inch of soil—seed-to-soil contact is critical for germination.
Cover the seed: A light covering of straw mulch (you should still see some soil through it) or peat moss helps retain moisture, protects seeds from birds, and keeps the area warm. Erosion control blankets work well for larger or sloped areas.
Step 5: Water Consistently (This Is Where Most People Fail)
New grass seed requires consistent moisture throughout the entire germination period. Even one day of drying out can kill seeds that are in the process of germinating.
Watering schedule:
- Days 1–14 (germination period): Water 2–3 times daily for 5–10 minutes each session. Keep the top ½ inch of soil consistently moist—not soaking wet.
- Days 15–28 (establishment): Reduce to once daily for 15–20 minutes as seedlings develop deeper roots.
- After 4 weeks: Transition to your normal deep, infrequent watering schedule.
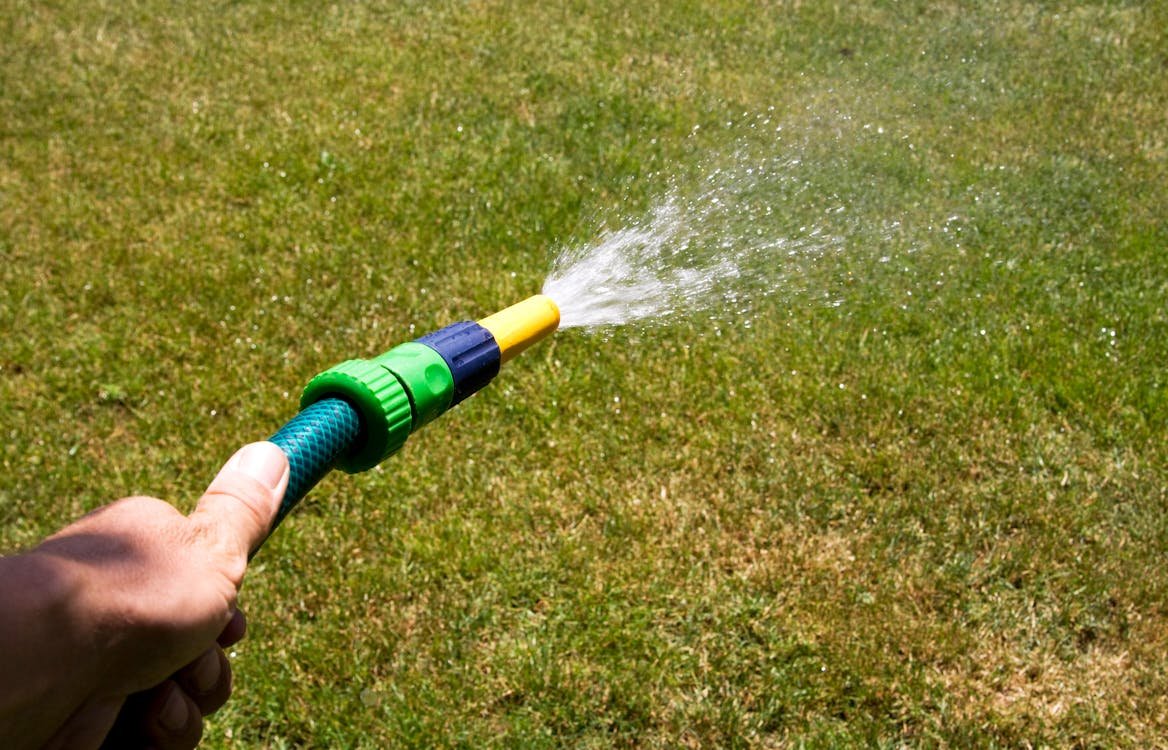
Watering tips for small spots:
- Hand-watering with a gentle spray nozzle works well for small patches
- A small oscillating sprinkler covers larger repaired areas
- Set a reminder—twice-daily watering is easy to forget, especially on busy days
Step 6: First Mow and Continued Care
First mow: Wait until new grass reaches 3–3.5 inches before mowing. Use your mower at its highest setting. New seedlings are easily damaged by mowing when roots haven’t yet anchored deeply.
Avoid foot traffic: Keep children, pets, and foot traffic off repaired areas for at least 4–6 weeks. Newly germinated grass has fragile roots that break under pressure.
Follow-up fertilizer: About 4–6 weeks after seeding, apply a regular lawn fertilizer to feed the new grass as it establishes.
Fast-Tracking Repairs: Alternative Methods
If you need faster results than seeding provides, consider these alternatives:
Sod plugs: Cut matching sod plugs from a hidden area of your yard (behind a shed, under a deck) and plug them into the bare spot. Results in days rather than weeks.
Purchased sod patches: Some home improvement stores sell small rolls of sod perfect for patch repairs. Buy a matching species.
Lawn repair mixtures: Products like Scotts EZ Seed combine grass seed, mulch, and fertilizer in a single product designed specifically for bare spot repair. Easy and effective for small areas.
Timing Considerations
Cool-season grass repairs: August–October (fall) is the best window. March–May (spring) is a usable secondary window. Avoid summer repairs when heat stress kills new seedlings.
Warm-season grass repairs: May–August when soil is warm and the grass is actively growing.
Emergency repairs: If you need to repair bare spots outside the optimal window (e.g., dog urine damage in midsummer), use perennial ryegrass as a quick fix—it germinates fast in warm soil and will hold the area until you can establish the proper grass in fall.
With the right preparation, matching seed, and consistent watering, most bare spots can be fully repaired in 4–6 weeks. Address the cause, prepare the soil, and don’t skimp on the watering—that’s the entire recipe. For a deeper dive into seeding technique, timing, and aftercare, see our complete guide on how to plant grass seed.